Search This Blog

Friday, 4 May 2018

Vegan Lentil Pasta Cacio e Pepe


One of the greatest, most convenient ways to eat more legumes is to make them into the format of something else that's already ultra-easy to prepare. Namely, pasta.

Not every bean flour is equal- some act and taste almost like wheat pasta (chickpea-based) while others have a distinct flavour and texture that can actually contribute to certain recipes in its own unique way (black bean).

Recently I got some green lentil penne on sale- these pastas are still "novelty items" at most supermarkets, and so are a bit on the expensive side. Right now I'm working on a recipe for making fresh pasta from more affordable legume flours, but if you can get your hands on the ready-made stuff to try I highly recommend it.

Important notes:

  • These flours tend to have more fats and complex components that go "off" when exposed to oxidation, so they don't last as long on the shelf as wheat pasta might.
  • The cooking times are different for each bean flour, and they won't all have the same consistency when cooked (e.g. black bean pasta stays "al dente" more easily)
  • The flavour of the legume is less pronounced than in the unprocessed bean/lentil but is still present.
  • These reheat better than wheat pasta because of their lower starch content
  • They're (usually) gluten-free!


Here's a recipe I adapted from The Gentle Chef's alfredo sauce. Mine is a bit more assertive and cheesy, and ended up resembling a dish I had in Milan long ago: "cacio e pepe", or cheese and pepper pasta. While the "real thing" is much more minimal in terms of preparation and ingredients, this is easier to make with pantry ingredients as getting a good vegan melting cheese can be difficult if you don't make your own. I highly recommend giving this recipe a try!

Lentil Pasta "Cacio e Pepe"
Adapted from The Gentle Chef

1 Box of green lentil penne (or another shape- spaghetti is traditional for this type of pasta)

Cook according to the box instructions in lightly salted water until your desired firmness is reached and set aside.

For the Sauce:

1/2 C. Cashews, pre-soaked at least 6 H and drained

1 1/2 C. unsweetened plain soya milk (or another non-dairy milk of your choice)

1/2 C. Dry white wine (or more soya milk if you don't want any alcohol)

2 TBSP Nutritional yeast flakes

1 TBSP White or brown miso paste

1 Scant tsp. Salt

1 Tsp. Dried oregano (optional)

1 1/2 Tsp. Garlic powder

1 Tsp. Onion powder

2-3 Tsp. freshly cracked black pepper

1/8 Tsp. Lactic acid (optional)

3 TBSP Good olive oil

1 TBSP Fair-trade, environmentally friendly red palm oil (I use this one from Nutiva; you can also substitute an additional spoonful of olive oil plus a pinch of turmeric)


Vegan parmesan and more black pepper, to serve

Blend all the ingredients until smooth and pour into a saucepan. Cook on medium-low heat until sufficiently hot (you can cook it longer to thicken it if you prefer a thicker sauce) and mix with the prepared pasta. Serve hot.


Wednesday, 4 October 2017

Farinata- A taste of the Liguran Coast


Recently I was on a trip to the Ligurian coast of Italy. One of the affordable and delicious vegan foods that I encountered was farinata, a baked flatbread made of chickpea flour and not much else. It has deliciously crisp, toasty edges and a custardy soft inside that makes it a delicious portable snack. I tried one while in the cinque terre town of Riomaggiore from a small bakery, and was so impressed that I had to bring back the recipe! 


It can be challenging to get protein-rich vegan food in Italy if you stick to the tried-and-true pastas as your staple, but Italian food is also excellent for its resourceful use of beans and lentils in creative and delicious ways, even if these recipes unfortunately are relatively unknown in North America. While this recipe details the Ligurian style flatbread, there are tons of regional variations of chickpea-based flatbreads and similar foods all over the country, so you're bound to find something wherever you travel to.


I ate mine topped with fresh tomatoes and some dried thyme I brought back from Genoa, as well as a little basil from my garden. It would also be good with a lot of other toppings, so go wild! It's unassuming in appearance but very filling and satisfying, and a great way to eat more legumes in an unconventional way. It's best served hot, but you can reheat if it you don't finish it all in one go.


Farinata Genovese
Serves 2-4

130 g. Chickpea flour
400 mL Water
1/2 Tsp. Salt
2 TBSP Olive oil
Herbs and spices to taste- Black pepper, rosemary, oregano, chili flakes, or whatever you want!

Whisk the chickpea flour, water and salt into a very thin batter and let rest at room temperature for at least half a day, or overnight in the fridge. (It does smell very beany at this stage... don't worry, it smells fantastic once you bake it.)

Whisk in the olive oil and whatever other seasonings you want to use. Pour into an oiled 8'' x 8 '' pan and bake for 20-30 minutes, or until the top is blistered with light brown spots.

Let set for about 10 minutes, but serve while hot! Top with your favourite meltable cheese, fresh or roasted vegetables, and/or extra olive oil. Enjoy!

Monday, 2 October 2017

A Little Irony- the importance of iron in a plant-based diet


Iron is one of those mysterious minerals you know your body needs but you aren't exactly sure why. Well, look no further!

 In simple terms, iron is necessary for the production of blood. A lack of iron can lead to fatigue, pale skin, weakness, and a whole bunch of smaller but still unpleasant symptoms. If your'e unlucky you might develop anemia which will give you all of these conditions to a level where it might begin to interfere with your day to day life. Not fun! But luckily, you can get it from many foods, even if you are vegetarian or vegan like myself. Of course, if it's serious you should be taking iron supplements but if you just want to fit more into your meals there's many options which won't take a lot of effort to incorporate into your diet. I personally have a serious iron deficiency and I've been looking for sources of iron that I can easily fit into my diet alongside my supplements. Let's start off with some that you probably already eat,


Tofu! Truly going beyond once again with 5.4 mg of iron per 100g. I'm assuming if you use this website, it's probably already a food that you are used to.

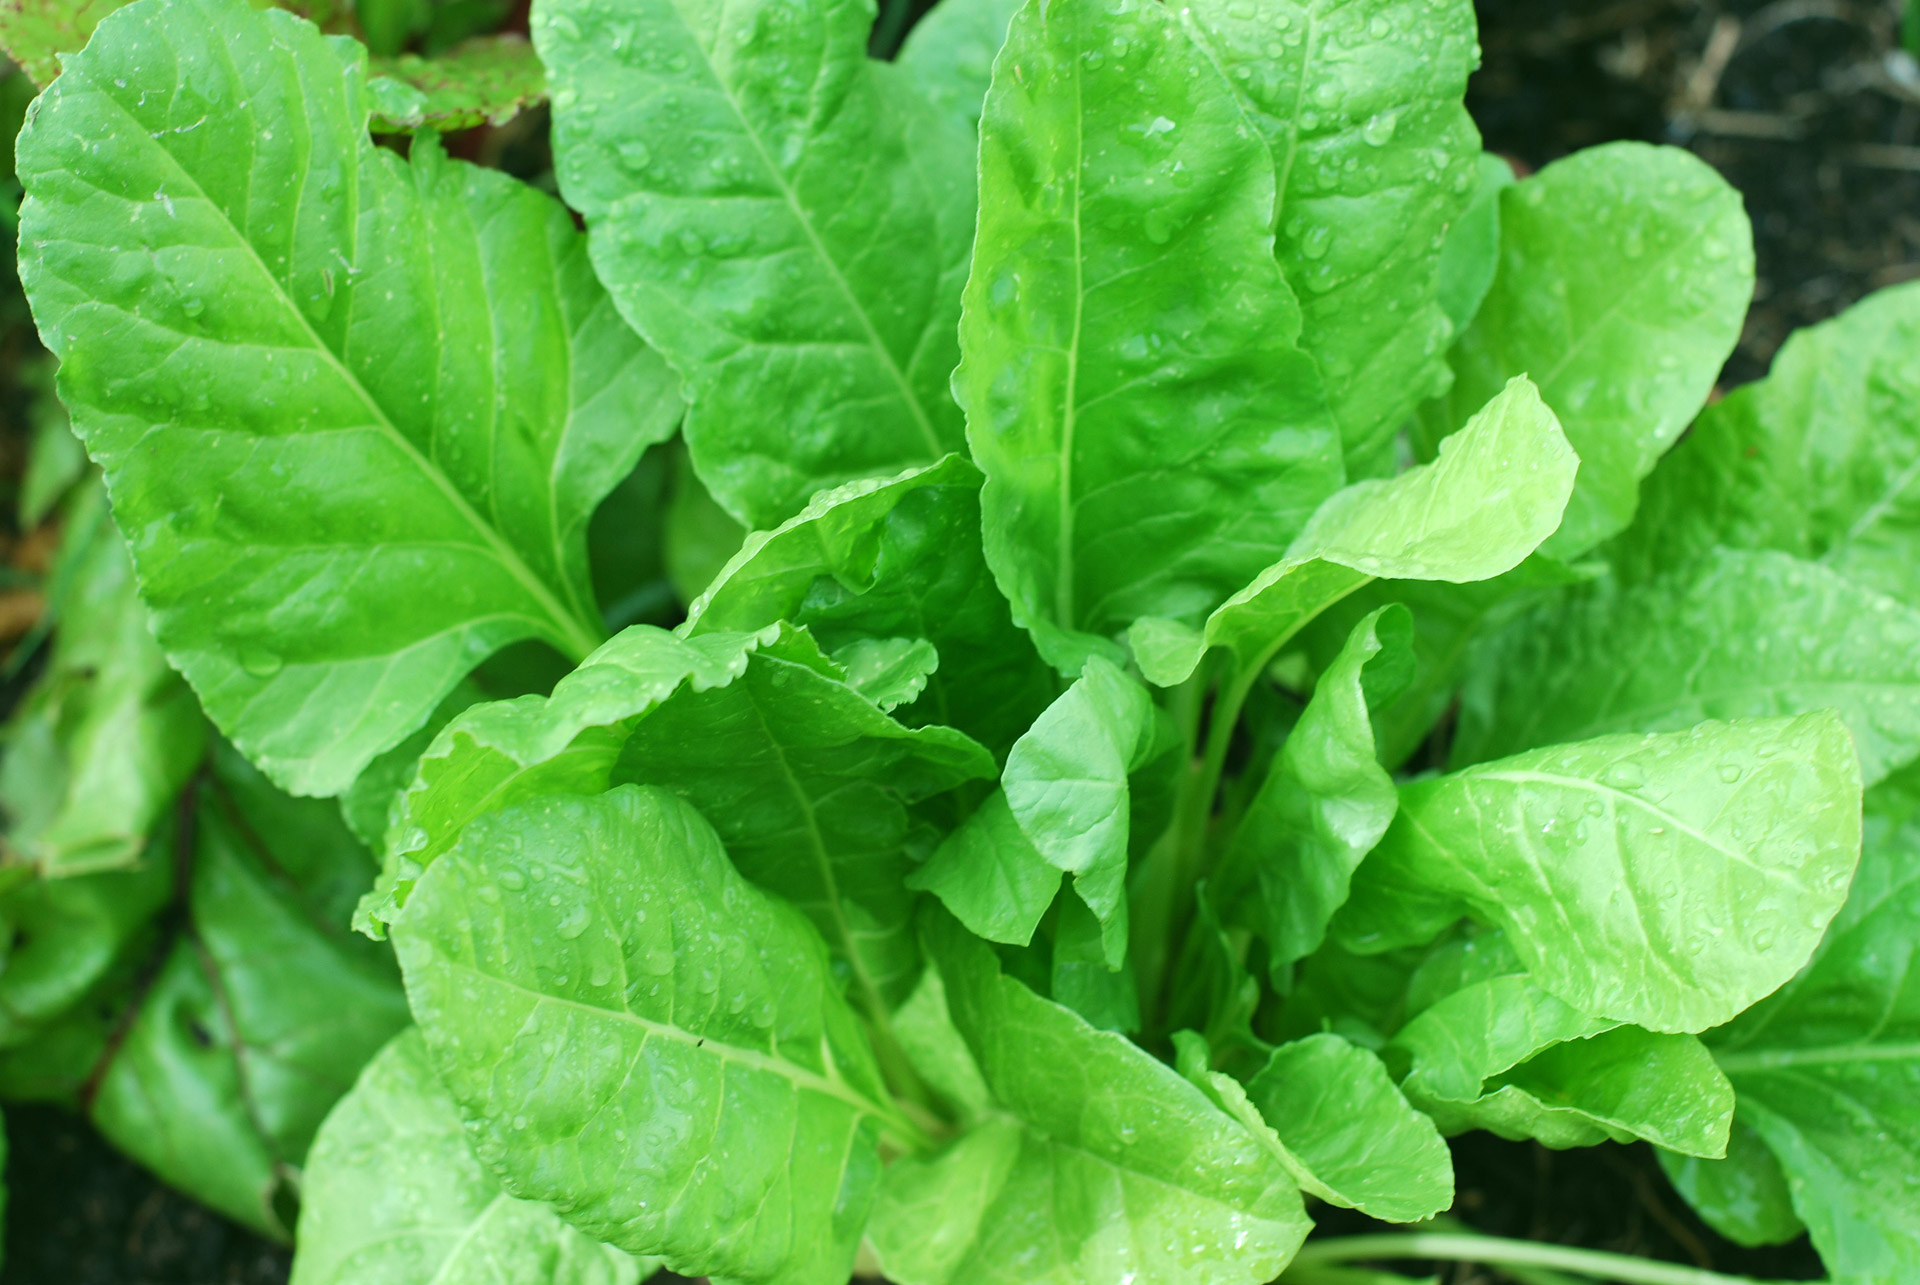
Healthy Spinach Plant

Spinach packs in 2.7 mg of iron per 100g. Try adding it to salads and smoothies for an extra boost. However, don't overdo it; spinach is also notorious for its high levels of oxalic acid. Try other dark greens as well, such as collard greens and kale.


Sunflower seeds are one of the best iron sources I've found. They contain 5.3mg of iron per 100 grams! That's just shy of tofu and these are a lot more transport friendly. They're great as a snack, in a salad, or even as a butter (think peanut butter but nut free, they'll sell it at your local health store).


If sunflower seeds aren't your cup of tea, try pumpkin seeds. You may have never considered these Jack-O'-Lantern left overs as a health food but they contain 3.3mg of iron per 100g. With fall having recently rolled in, you should have no problem finding them, or roasting your own. They make a terrific snack but the sky's the limit.


This one will hopefully encourage you all on your path to an iron-filled lifestyle. Dark chocolate contains 11.9 mg pre 100 g. That's more than you'd get from 200g of tofu. Black bean brownies, anyone?


Oatmeal is a really easy way to get a lot of iron without too much effort. With 6 mg per 100g you can get a whole day's supply of iron at breakfast. The great thing about oatmeal that also applies to dark chocolate is that you can add it everywhere! Bake some oatmeal chocolate chip cookies and demolish any chances of iron deficiency!

Now there's many other great iron sources but follow a few guidelines to get the most out of your new iron heavy diet. For maximum absorption make sure your vitamin C levels are up, otherwise you might not be getting the full impact of your diet. Remember, how much iron you need depends on a lot of personal factors. If in doubt, ask a doctor or someone else versed in medicine. For a run of the mill estimate however, I found an excellent table courtesy of the US National Institutes of Health:


Now the examples I chose are parts of larger groups which typically contain a lot of iron. Leafy greens, grains, beans, and seeds all typically have high iron contents. When in doubt google's your friend. Now if your iron needs are serious like mine, I'd recommend Polyride Fe ultra which has the added bonus of already including vitamin C as well as B12, meaning absorption won't be an issue. I've been taking it for over a month on my doctor's recommendation and it's been working well for me, though once again this is for the truly iron deficient. Best of luck everyone! 

Monday, 7 August 2017

Fresh Summer Salad Rolls with Lemongrass Baked Tofu, Mango, and Chili-Soy Dipping Sauce


Is it way too hot for any warm dish? Do you like really pretty food? Probably yes on both accounts, right? In that case, salad rolls are the perfect dish.


These are made with a lot of fresh herbs and vegetables, a little bit of mango for sweetness, and deliciously aromatic baked lemongrass tofu for protein. The dipping sauce is super simple, and I use a little vegan Worcestershire sauce (I use Wizard's brand) to give it some depth since if it had been non-vegan, it would likely include some fish sauce for the same purpose.


The wrapping step is a bit tricky, and you may end up eating a few "duds", but that's really not going to be a problem considering how delicious they are. I find that with this combination the textures and flavours are especially well-balanced, but feel free to try different veggies and herbs. Enjoy them while it's still summer!


Fresh Summer Salad Rolls with Lemongrass Baked Tofu
Makes 8

For the Tofu:
1 Block extra-firm tofu, cut into 2 cm thick slices
2 TBSP minced fresh or frozen lemongrass
2 TBSP Soya Sauce
2 TBSP Peanut or sesame oil
1 TBSP Lime juice

Blend together all but the tofu. Pour the marinade mixture onto the tofu, layering the slices of tofu with marinade in between, and leave to absorb either overnight in the fridge or 2 hours at room temperature.

Bake the separated slices on a layer of baking foil at 250 degrees celsius for about 15 minutes, or until browned and firm.

Cut into matchstick-sized slices once cool.

For the Wraps

About 16 rice paper circles

1 Ataulfo mango
2 Persian cucumbers or 1/2 a large Englsih cucumber
1 Carrot
1 Avocado
1/2 C. Mint
1/2 C. Cilantro
1 Small bunch of scallions
~8 large leaves of romain lettuce

Tofu, from above

Lime wedges, to serve (optional)


To prepare the vegetables (and mango), peel or wash as necessary and cut into thin matchsticks, apart from the lettuce and herbs.

Make the wraps one at a time. Take 2 rice paper circles and soak in a large bowl with cold water for about 1 minute, until translucent and pliable. Lay onto a large plate together (wrapping them is easier if you layer 2 rice paper circles rather than just use one) and add a bit of each ingredient (don't overstuff; this will likely cause the rolls to break). Wrap tightly from one side, then fold in the corners of the wrap and keep rolling until you've sealed the roll together. Repeat with the rest of the rice paper circles.

For the Chili-Soy Dipping Sauce:
2 TBSP Rice vinegar
2 TBSP Sugar
2 TBSP Water
1-2 Bird chillies, minced
2 TBSP Soya sauce
1 Tsp. Vegan Worcestershire sauce
Dissolve the sugar into the water and vinegar (you may need to briefly microwave it). Add the soya sauce and chillies. Serve with the rolls on the side.


Saturday, 29 July 2017

Chickless Nuggies: Vegan Chicken Nuggets


Chicken nuggets are one of those foods that everyone talks about, so there's got to be something special about them, right? Well, beyond the good ol' batter-salt-and-fry treatment, not really! In fact, I think seitan easily beats out the bizarre pink purée real chicken nuggets are made of. For the sake of keeping this blog kid-friendly I'm not gonna link to that famous image of the play-doh meat extruder fast food restaurants use to portion their "meat" (plus or minus 40 ingredients).

Instead, enjoy this recipe for healthier, and as far as I'm concerned, tastier, chickless nuggies.


The firm texture is obtained by steaming the seitan instead of boiling it, but you will have to make sure the batter is adequately seasoned to compensate for the flavour lost by not boiling the seitan in broth; you can also add a boullion cube to the wet mix for the seitan, if you want.

I use aquafaba, a.k.a the thick leftover water from a can of beans, as the egg replacer that works perfectly to bind the flour coating to the outside. You can get aquafaba from a can, or simply reduce the water you've cooked your own beans from scratch in until it's slightly thick. This is a very versatile ingredient that also freezes well, so get your hands on some!

So, next time you want that actually-happy-meal feeling... consider trying some chickless nuggies.


Chickless Nuggies
Makes... A lot

For the Seitan:
2 cups Vital wheat gluten
5 tbsp Tahini
1 tsp Miso
3 tbsp Nutritional yeast
1 block Tofu, extra-firm
1 tsp Garlic powder
1/2 Tsp. Onion power
1/2 tsp White pepper
1 tsp Poultry seasoning
1/4 cup Besan/chickpea flour
2 tbsp Olive or canola oil
1 tsp. Salt
1/2 Tsp. Black pepper
1 Tsp. Mustard, prepared

Enough soya milk (unsweetened) to form a dough

 Mix the dry ingredients and add the wet; I crumble the tofu by hand to give a bit of variation in texture, but you can purée it as well if you want a smoother final product. Knead until well-combined, adding the soya milk slowly until the dough just sticks together. 

Steam in a tinfoil parcel with holes poked in it for 90-120 minutes.

Let cool and cut into bite-sized pieces. You'll have leftovers most likely, but these can be kept in the fridge for up to a week or be frozen for months.

For the coating:
1/2 C. Aquafaba

1 C. Whole wheat flour (or white)
1/3 C. Cornstarch
1 Tsp. Baking powder
1-2 Tsp. Salt (to taste)
1 Tsp. Poultry seasoning

Enough oil to shallow-fry (I used canola)

Sift together your dry ingredients so they're evenly combined. 


Dip nuggets into aquafaba, then into the dry ingredients.  Fry in hot oil, flipping after about 3 minutes, until golden brown. De-grease on a paper-towel lined plate and serve with your favourite condiments.

Friday, 23 June 2017

Soya Lees/Biji Jigae (kinda) with Kimchi


Since that last tofu-making adventure, you want something to do with all that soya pulp that's left over, right? Here's an idea, if you like spicy and savoury stews as much as I do. It's highly customizable and super easy to do. It's the kind of thing that's great to eat if you're sick or it's really cold outside, but I wouldn't mind eating this in any weather. After looking at some other recipes, I realize that I overdid it with the chili and bean paste, but this is the way I like it!


This recipe is roughly designed around one from the book Asian Tofu by Andrea Nguyen, although I don't actually follow her recipe. Still, I love all manner of Korean tofu dishes, which still have plenty of kick and complexity to them even though I request them without fish sauce et cetera. A couple of these ingredients are tough to find if you aren't lucky enough to have a Korean supermarket in your midst, but can be ordered online as well.


Biji Jigae with Kimchi

1 C. Soya lees/biji, remainders from tofu-making
4 C. Vegetable or mushroom broth (make sure it's not too salty, since you're also adding the bean paste and soya sauce)
1 TBSP Rice wine vinegar
1-2 TBSP Gochujang (spicy Korean bean paste)
1-2 TBSP Gochugaru (Korean chili flakes)
2-3 TBSP Soya sauce
2 Tsp. Sesame oil
1 C. Vegan kimchi (I used a dandelion leaf kimchi, you're more likely to find vegan kimchi in health food stores than Asian supermarkets)
1 Bunch of green onions/scallions, chopped into small pieces

Optional Additions:
Firm tofu, cubed or thinly sliced
Mushrooms, such as shiitake or maitake, reconstituted in hot water if dried (I used dry shiitakes)
Thinly sliced vegetables such as zucchini, carrot, or bell pepper
Quick-cooking small greens such as spinach

To Top: 
Toasted sesame seeds
Seaweed
Bean sprouts
Extra green onion, thinly sliced
Even more kimchi!

Bring the broth to a boil and stir in the gochugaru, gochujang and  Soya lees. Cook on medium heat for about 5 minutes, then add the green onions, kimchi, vinegar, soya sauce, and other optional vegetables/tofu. Cook until the vegetables are tender (if not using, about 2 minutes is enough) and drizzle the sesame oil on top.

Serve with rice (purple rice being the best) if desired, and any other toppings you'd like.


Thursday, 22 June 2017

Homemade (Lemongrass-Chili) Tofu, from Scratch, using Liquid Nigari


A local Vietnamese restaurant makes some of the best fried tofu I've ever had. Apart from plain, they have two variations: mushroom-vermicelli and lemongrass-chili. My favourite is the latter, so I've long desired to try making it myself.

Admittedly, homemade tofu is a labour of love, but the flavour is worlds away from supermarket tofu. Here, I describe how I made this tofu happen. Although I'm a total amateur, it still turned out delicious, and I only kind of spilled soya milk all over my kitchen (more on that later)... so, if you've got a few hours to kill and a bit of basic equipment, you too can try this amazing flavour combo in a fresh, nutritious, delicious tofu base.


Equipment:

A tofu mold, colander or other container that can drain liquid

A large strainer, plus a big bowl to set it over

Fine cheesecloth or a clean tea-towel (I use Cultures for Health's Butter muslin, which is an extra-fine cheesecloth)

Cooking/baking thermometer (optional but helpful)

A large pot, a wooden spoon or spatula for stirring, and a standard 1-cup measuring device

Ingredients:

Soya beans and water in a 1:4 ratio (I used about 1 1/2 C. soya beans and 6 C. water)

Flavourings: 2 minced red bird chili peppers (seeds and all for extra kick!) and 2 TBSP finely minced lemongrass leaves

Coagulant of choice: I used 2 Tsp. of nigari for 2 L. of soya milk, but you can also use gypsum or an acid such as lemon juice. Different brands sometimes recommend different amounts of coagulant, but so far I've only used nigari.


Instructions:

Soak the beans in the water overnight, or up to 24 hours in the fridge.


Pour the beans and water into a blender or food processor, working in batches if you've got a lot, and process until the water and beans are finely ground into a milky substance. Use a spoon to check the consistency: you want the beans to be very well ground-up to get as much of their goodness as possible into the liquid.


Pour this mixture your pot and allow to come to a boil, watching carefully so that it doesn't boil over and stirring to keep the copious amount of foam down (this is where I had a miniature kitchen crisis as foam spilled over and onto everything. Be vigilant!)


Once the mixture begins to bubble, turn the heat down to low and allow to cook for 10 minutes.


Prepare the strainer over the bowl and line with your cloth. Pour the soy mixture slowly over it to drain out the soya milk from the soya lees (the remaining ground up beans). once you've poured in all the contents of the pot, ball up the cloth so that the lees don't spill out and squeeze to expel as much soya milk as possible. If the lees are still very hot, let them cool a bit so you don't burn your hands while doing this.


Once you've obtained as much soya milk as possible, transfer the remaining lees to a container and refrigerate; these still have plenty of nutritional value and use for cooking. I'll give some examples of what you can do with it in another upcoming post.

Your by-product: Soya lees, wrung dry

Rinse your pot from before and return the soya milk into it. Heat it at a low setting until it is about 65-70℃, using your thermometer to gauge this (or, alternatively, wait until it begins to steam and begins to feel hot rather than warm when you take a bit out with a spoon and touch it). Remove from the hot burner.

Separately, mix about 200 mL of cold water with your coagulant and pour half of this mixture at a time into the soya milk, stirring it in with the wooden spoon/spatula. Keep mixing and periodically checking for small, white flecks to stick to the spoon/spatula; once you see that the mixture is beginning to curdle and produce white flecks/bits that stick to your stirrer (it took me about 2-3 minutes of stirring) cover the pot and let rest for 15-20 minutes.


Now, prepare another piece of cloth (or wash and re-use the one you used to strain the soya milk) and use it to line your tofu press/colander/straining device. You want something with lots of holes that aren't too large. Once your soya milk has curdled, us can use a cup or ladle to transfer the tofu curds into your strainer and remove the liquid (soya whey?).

What your curdled soya milk will look like after resting


To add the lemongrass and chili, I sprinkled a bit of them after each ladle-full of curds so that they are present throughout the tofu.


When you've transferred all of it, wrap up the curds with the cloth and cover the "package" with something heavy; this is to help press out the moisture and stick the curds into a cohesive tofu block. Use a plate or lid to disperse the weight evenly, then use cans, bottles, et cetera (I used my marble pestle and mortar) to cover it. Note that my strainer gives it an odd "W" shape.

Let the whole thing stay at room temperature for about an hour, or in the refrigerator overnight.


Now, unwrap your freshly made tofu- isn't it beautiful? and rinse with cold water.


 You can store it in a container with water in the fridge, changing said water every 24 hours to keep it fresh, or use it right away. Enjoy!


Here, mine was shallow fried and salted to a crisp golden-brown. You can also enjoy your tofu cold and fresh, or cook it anywhere you'd use medium-firm tofu.